Pages

Showing posts with label hijab. Show all posts

Saturday, February 18, 2012

Turn an old t-shirt into an underscarf for a hijab.

You can turn your child's favorite old tees into unique under scarves.  It really easy if you follow these simple steps.
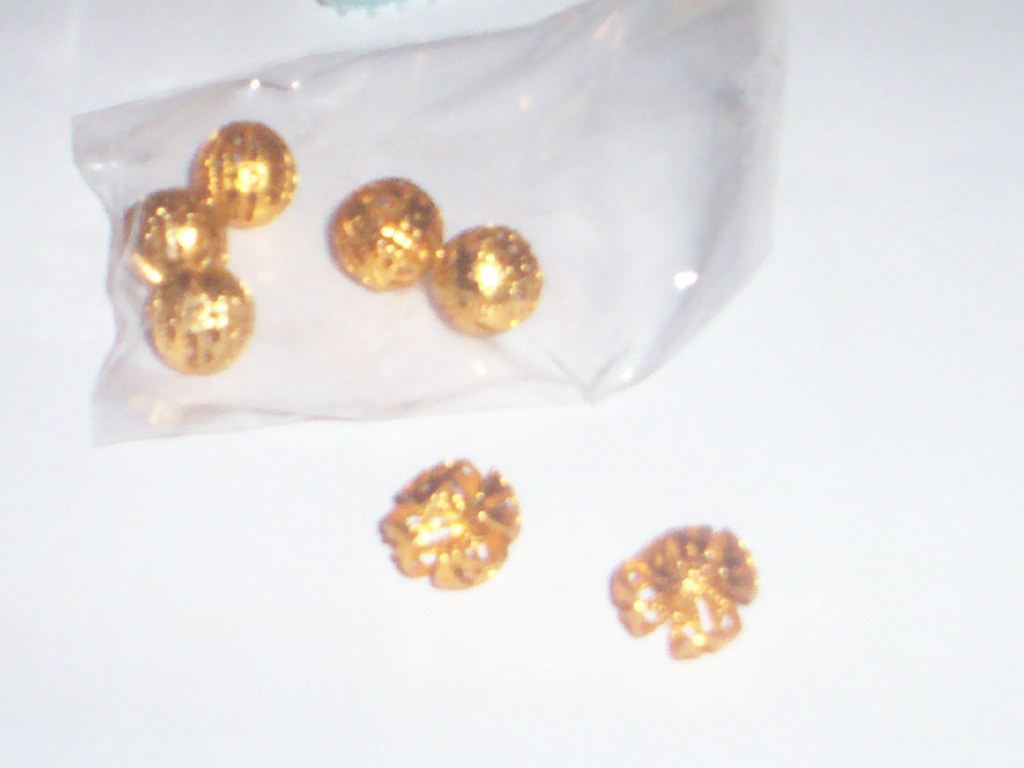
First pick the tee you want to use. I chose this one with all the embroidery and buttons on it, cute isn't it.
Second you cut off the bottom half of the tee where all the embellishments you want to use are. Cut it as high as you can go, this will make a bigger (longer) under scarf.

Next hem the raw edge where you just cut so it looks clean and neat.


Next cut the scarf to the width you need that will fit your child comfortably not too tight or too loose.
And then sew up that side, I left a little extra just so I can take out stitches later to expand if needed.


And finally you have a cute and UNIQUE under scarf made just for your special little girl.


I hope you enjoyed this tutorial. Enjoy :-)

Saturday, May 28, 2011

Wrap top completed

Here is the wrap top I've been working on. The pattern is from http://youcanmakethis.com. It's the wrap dress/top pattern. I was really easy to make. I think I will tweek it a little bit. For instance I would like a wider sleeve and maybe I will make it A-line. Overall it's a great pattern. I will be making many more Inshallah.


 I made matching hijabs to go with them too. If your little girl doesn't wear hijabs then it can be used as a blanket for her favorite doll or teddy bear, or it can be used as a fancy table cloth.

Sunday, May 1, 2011

Golden ball bead head hijab pin tutorial

Here is another easy hijab pin tutorial.

You will need:
Straight pins
pin cushion
gold or silver or colored round filigree beads/hair charms
rubber earring backs
crimp beads
nail polish (gold or whatever color you beads are)
jewelry tools like pliers or crimper


1. Put pins into pincushion
2. Paint each pin in desired color, this is so the pin head will be hidden inside the charm.
3. Let dry COMPLETELY


4. Gently open a few ball bead charms


5. Slide pin in through hole at bottom of charms


6. Slide on rubber earring back 
7. Slide on crimp bead


8. Hold pin upside down and close up the charm and adjust accordingly.


9. Crimp the crimp bead in place
10. Paint the rubber earring back and crimp bead to match the bead you are using


BE CREATIVE AND HAVE FUN. ENJOY

Easy Hijab Pin Tutorial

Here is one of the easiest hijab pin you will ever make. Make them for family and friends, make them with family and friends.

You will need: straight pins- get the longest ones you can find or have already

 a pin cushion- to hold up the pin while working

 nail polish- in any and all the different colors you wear or want your pins to be

Bonus: loose craft or makeup glitter

Now you can go out and buy these items or you can use what you already have.


First: place a few pins in the pincushion-I am using clover 1 3/4 in quilting pins, they are long and sturdy, they don't bend easily, they are sharp, and they are not to thick so they won't leave holes in the hijab.


Second: paint the pin heads in the desired colors. I am using Wet n Wild-Black Creme


Third: Let the nail polish dry only for a few seconds, until its tacky.

Fourth: Dip the pin head into the glitter. I am using makeup glitter, Wet n Wild #774 pink pussy cat


You can also take multi colored pins, cover them in clear polish and dip into matching glitter. The sky's the limit. 

BE CREATIVE AND HAVE FUN. ENJOY.

Thursday, March 24, 2011

I am the creator of the Original Tiara Hijab


I just love tiara's and crowns, I also love my hijab too. So to encourage the wearing of the hijab in my little girls I created the tiara hijab. Here are some new ones I did.

Tuesday, July 20, 2010

Arm sleeves are going green?!


Here is an arm sleeves that I made, recycling and old shirt that belonged to my daughter.  Here is a fun and unique way to reuse an old shirt. This shirt I used was made of a very thin knit fabric. Also because it was my daughters old shirt the sleeves made excellent undersleeves for an adult because the fit so snug.  First you find a shirt that you no longer want or need. Here is the shirt I used above.

Next I removed the ribbon trim from around the waist.

Here I cut of the arms of the shirt.

Wednesday, May 19, 2010

I made a hijab pin!

This is not my first attempt at making my own hijab pins. It is my first attempt at making one that is made will just beads and bead caps. I saw a sister at the local masjid with one that was similar. I went to my local craft store and here is what I came up with. Tell me what do you think?

"Where do you store all those hijab pins?"


A better question would be "How do you store all those hijab pins?" I absolutely love anything cute, one of which is pincushions. I just love them especially the manniquin type. I made one for myself and now it is loaded with hijab pins.

Hijab Pins

Me and hijab pins go way back. My first experience with hijab pins was with my barbie dolls. I used to make little hijabs for them and stick one of umi's straight pins in her head to hold the hijab in place. Back then we called them kemars and kemar pins. When I first started wearing niqab I just used a good ole basic straight pin from the sewing box to hold it back. Now hijab/kemar pins have come a long way from the basic sewing box straight pin. There are so many to pick from and so many different types of pins can be used. I really like the philo clay pins, made into flowers and hearts with little diamonds and glitter. And the chandelier earring type pins. And also that basic sewing box pin too.
 Of course the next question is "Wear do you store all those hijab pins?"